The ceramic wool arrived and now its time to stuff the walls. The stuff that I wound up buying was the loose wool and it cost me $64.00 for four bags. That’s not a bad cost given the upgrade that it gives the oven.
I am not going to deal with the door or the back for now. The door doesn’t lend itself to any more insulation so that will have to remain as is. The back has a shield held in place by four spacers which is designed to keep someone from accidentally burning themselves on the hot oven. Given that the back of the oven is a single thickness metal wall, “it’s” as Martha would say, “a good thing”. It does need more attention and I think that an insulating ceramic wool blanket between the shield and the back wall will work wonders here. I have a few ideas on how to do it, but that’s for later. Right now the main walls and roof will get the insulation treatment.
Stuffing the walls requires a bit of tear-down to get at the cavities. The inner walls will not come completely out without grinding off rivets and welds and I didn’t want to go that far. Given that I only want to do screwdriver surgery, I removed the back, chimney and bottom for maximum access. The bottom comes of just fine but the back has a screw hidden behind the gas pipe fixture. I didn’t want to get into removing the gas line and since it is only one screw, after all the other screws were removed it was easy to pivot the back on it out of the way for full access. No need to do more than you have to.
Now for a strong word of caution: Ceramic wool isn’t something that you want to breathe in. It’s like asbestos and fiberglass-it is nasty stuff in your lungs. Treat it with respect and USE A MASK! A simple dust shield, a Home Depot throw-away is all you need but you DO need it! That and gloves. Yes, just like fiberglass and poison ivy, this stuff will make you itch! As I stuffed the oven I could see shiny, glittery dust settle on its black surface and I was very happy to have the mask on. Afterwards clean up carefully and wipe everything down with wet paper towels to get up all of that dust.
When I started this project I had considered a ceramic blanket and probably would have used one if there was good access. It would be much simpler if the oven separated to wrap the inner walls and put it back together, but stuffing a blanket through the available openings just wouldn’t work, so loose wool it is. To help with the stuffing I bent a wire coat hanger to form a sort of push instrument. As I stuffed the wads of wool in I was able to use the wire coat hanger to push them into the far corners of the oven.

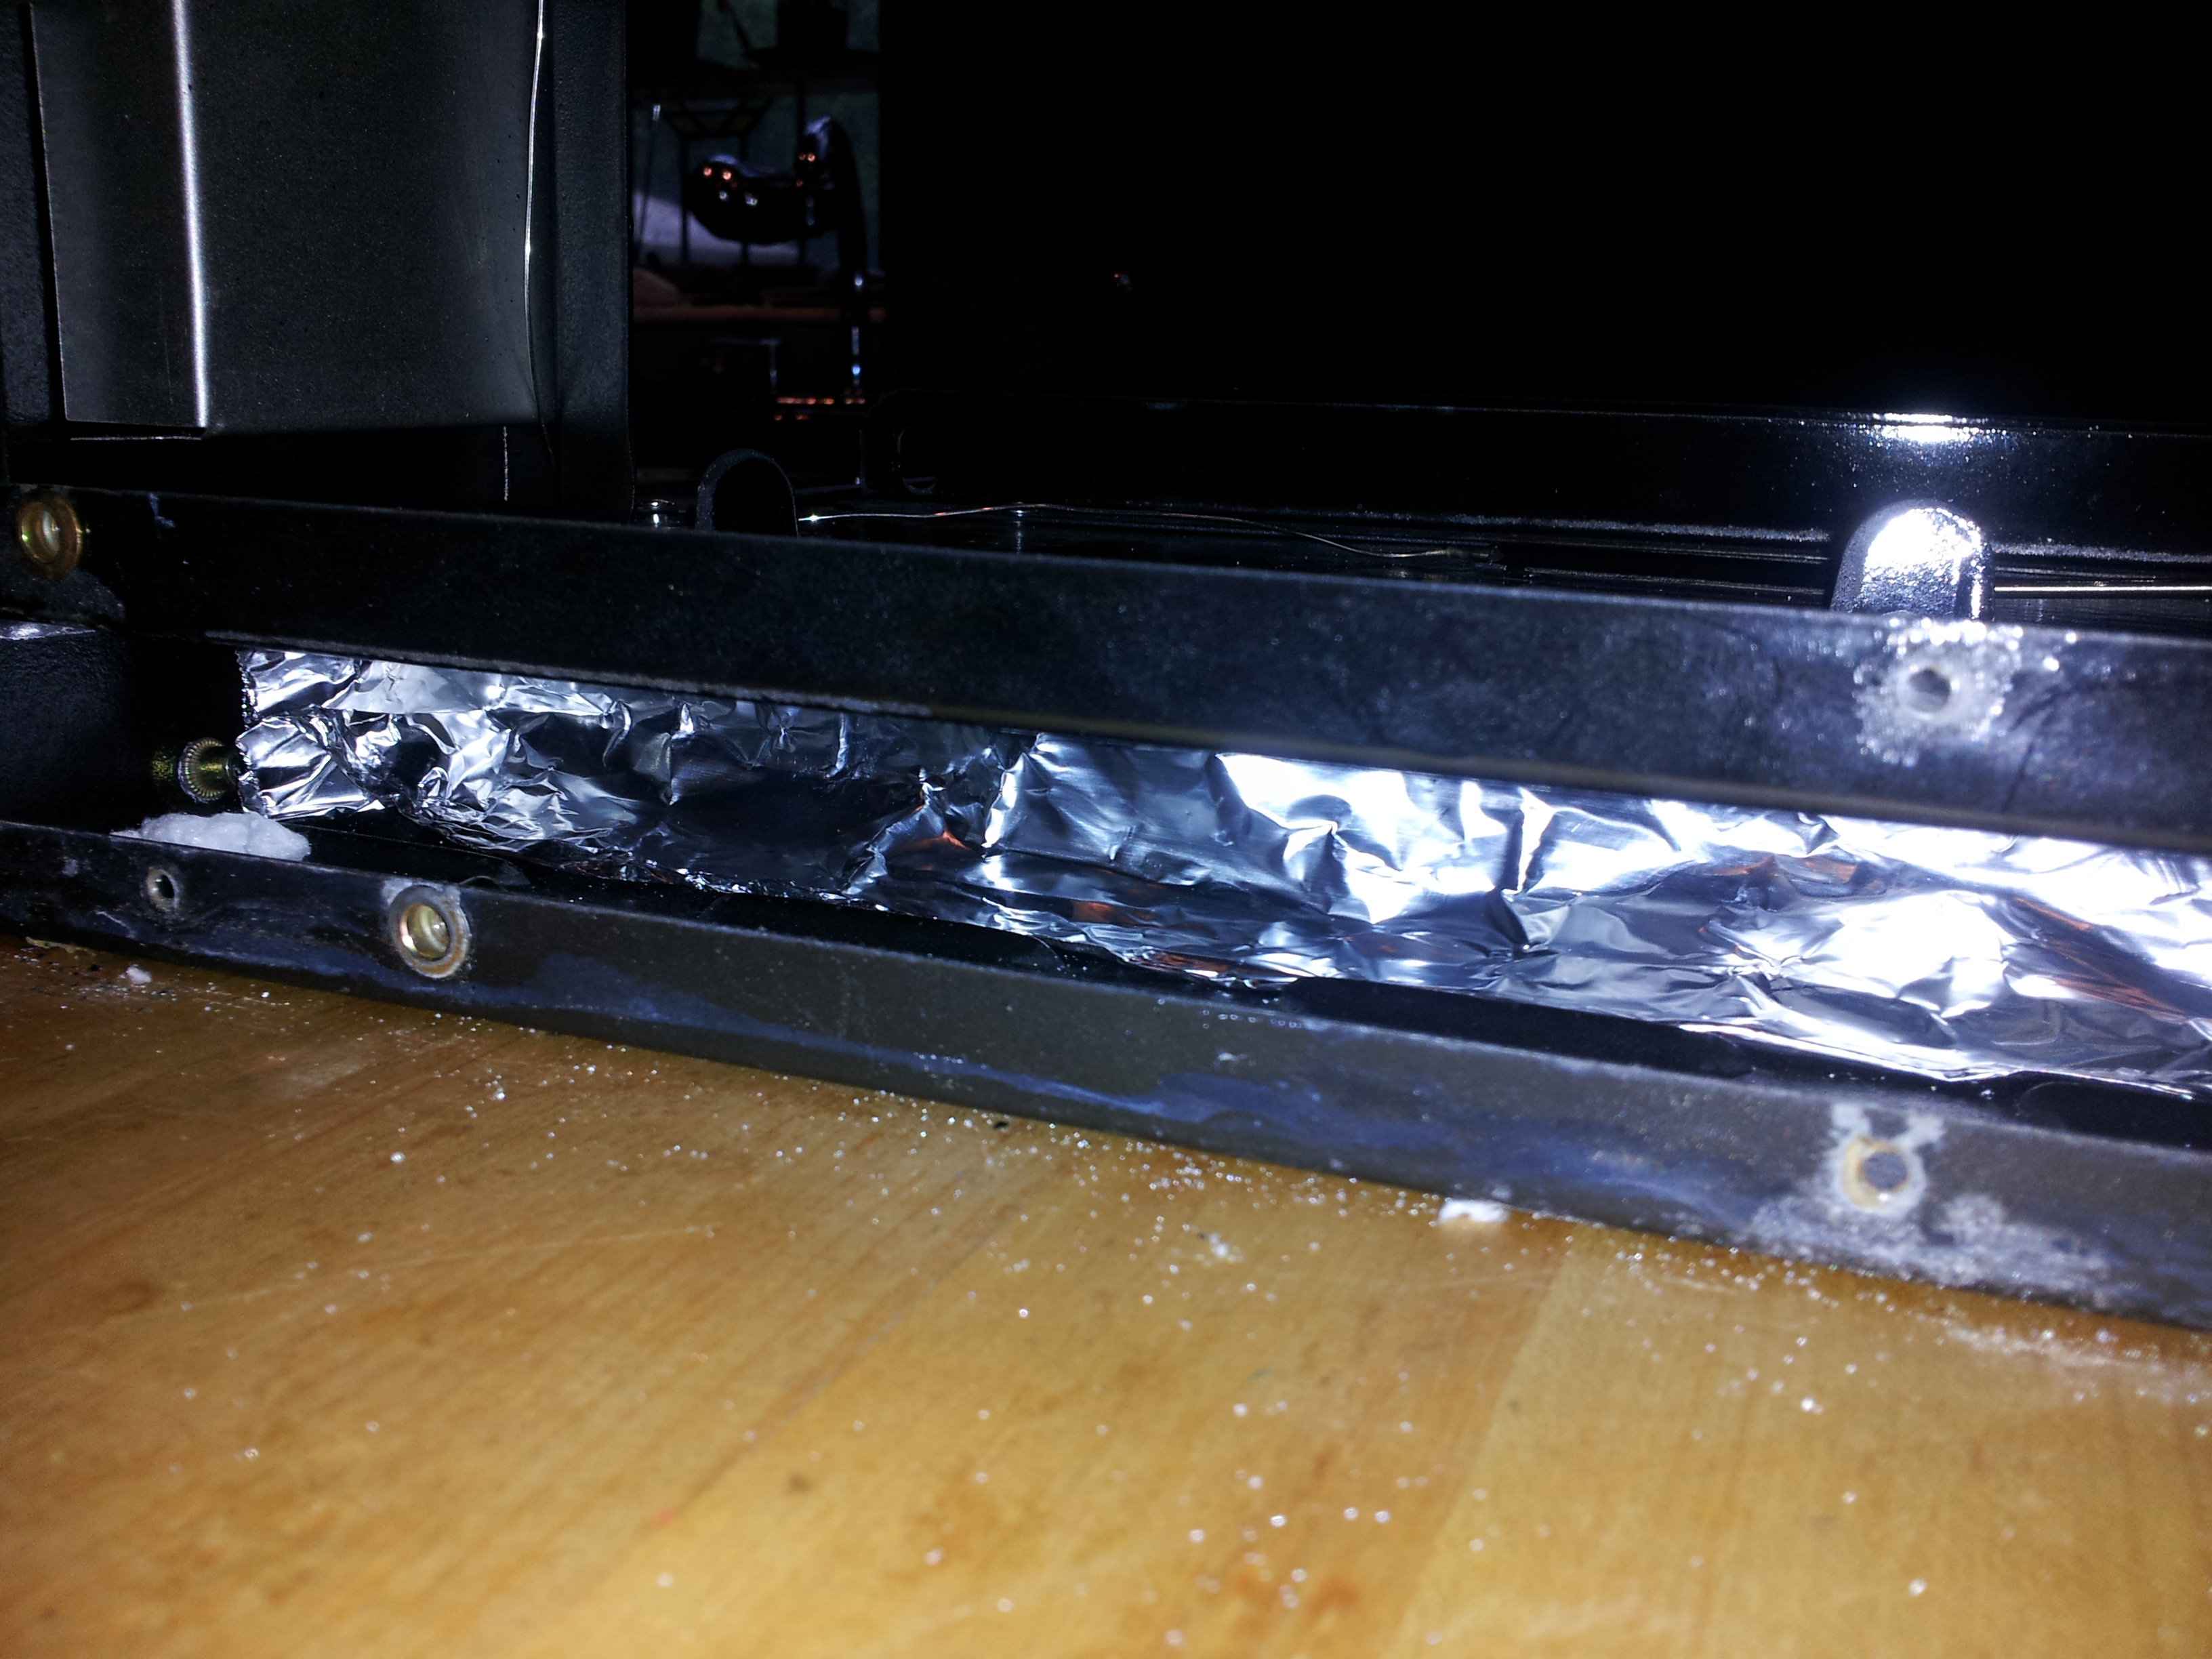
I first started from the bottom of the oven on the side opposite the gas line. I stuffed one full bag up that side, sealed the bottom of it with a strip of folded over aluminum foil (to keep it in place) and then set the oven upright. Going in through the chimney opening and using the coat hanger through the slit between the inner and outer walls, I stuffed the wool into the other wall and the roof. I was afraid that I would be forced to remove and replace the gas line once I had done the top, but I found that it was easy enough to work the wool down into the wall, so fortunately I didn’t need to do it. In the end, the oven took three and a third bags of the ceramic wool to do the job right.
One more thing needed was a better floor for the pizza. Finding a large enough unglazed tile was a bit of a challenge, so I took a page right out of the Italian pizza oven playbook and sourced some stone. I did a bit of online research and found that there are a lot of people who use Travertine with great results. They are a porous stone, which is perfect for crisping the crust and the tiles come in large sizes than the ceramic ones. The Home Depot has these really nice 18″ square Travertine tiles and they are the perfect size for our oven floor.

I bought two of them for a total of $13.46. They fill the bottom of the oven perfectly from front to back, leaving nice gaps on either side for the hot air to rise. I have them resting on the stone that came with the oven. This should give us enough thermal mass to keep from bouncing too much, temperature-wise.
That’s it for now. Our pizza oven is ready for use. Its time to crank it up and see what she’ll do!